Today we will learn about elementor tools and how to use them.
Prerequisites
- Elementor Plugin Installed on your WordPress Website
- Create new page or edit the existing page in Elementor.
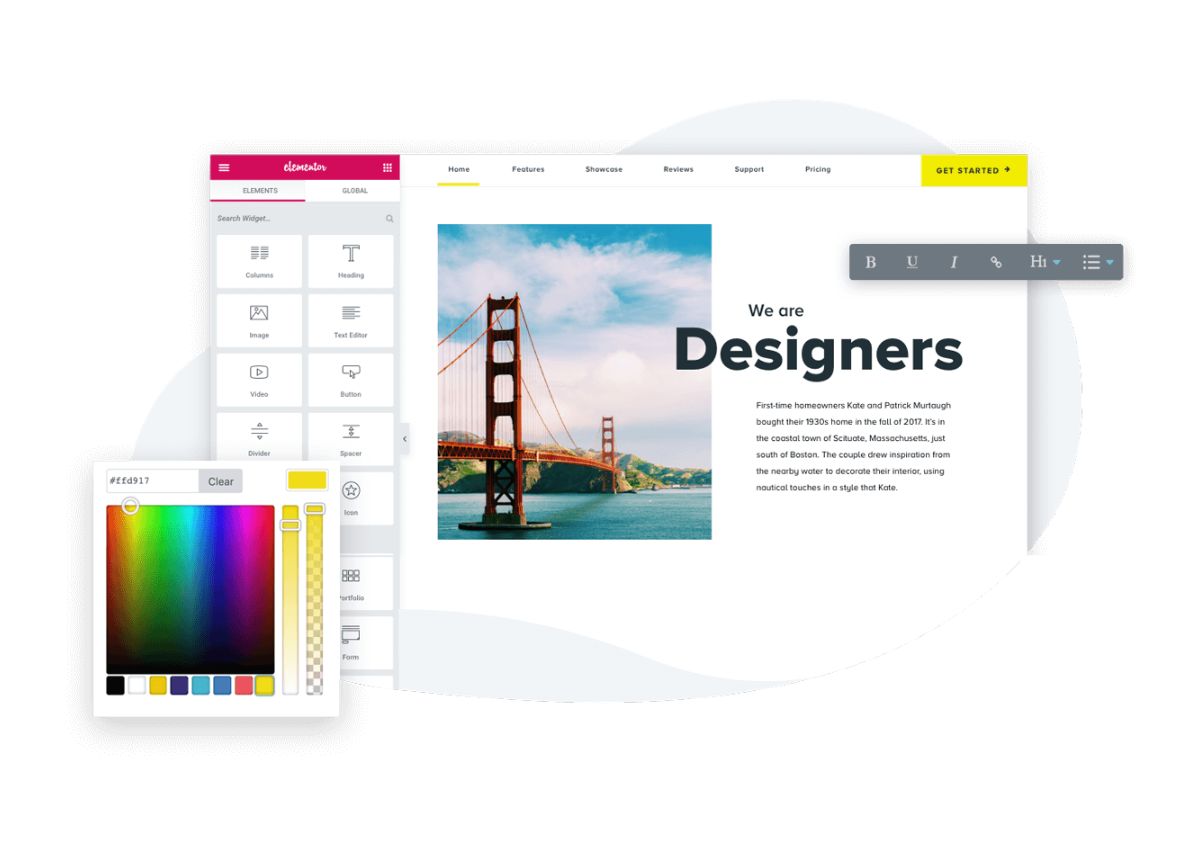
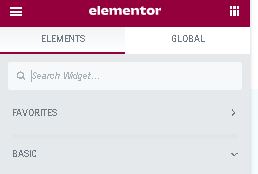
Elementor Editor Sidebar
- Left Corner Hamburger Menu for Settings, Navigation & More.
- In the center will be the name of the selected element for editing.
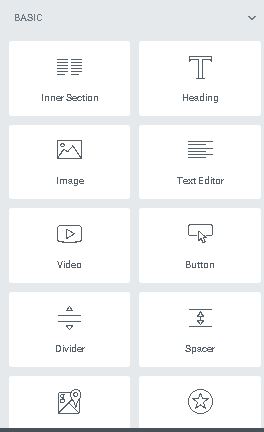
- Right Corner 9 dots will show all the available elements that we can use.
Add New Section


You will find 3 ways to edit the added section. Layout, Style & Advanced.

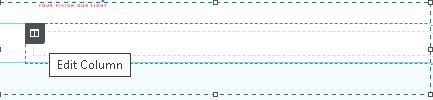
Each Section is surrounded by a blue border and has 3 controls on the top.
These 3 actions are: Add Section, Edit Section & Delete Section.

Column element is surrounded by dotted border and you can edit the column by clicking on edit column icon on the right top corner.
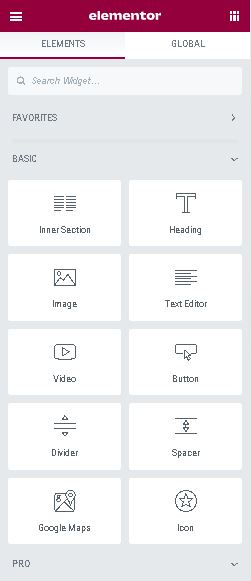
Without making any changes to the Section or Column. Will now add elements to our 1st Section. Using elemetor editor sidebar you can drag and drop element into the column.

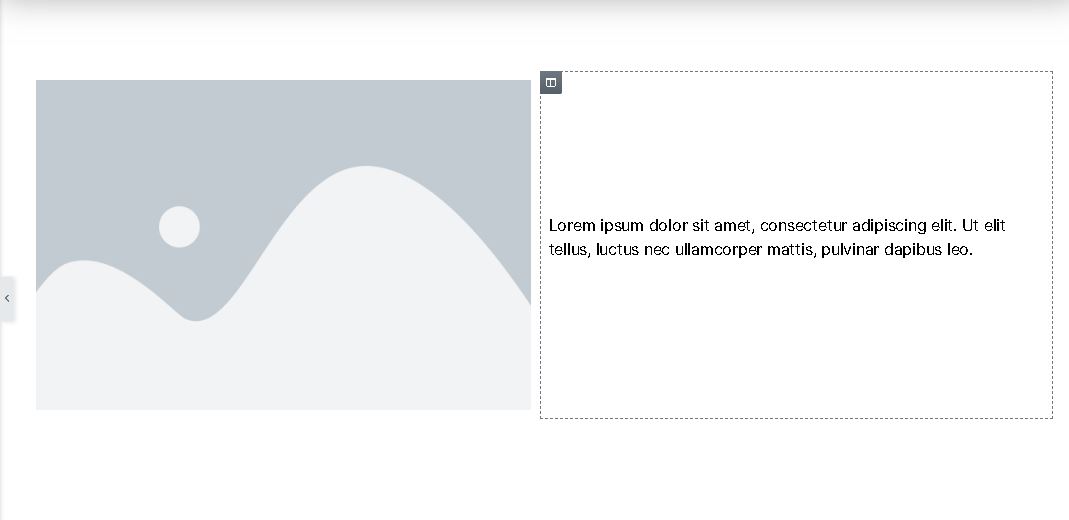

You will find 3 ways to edit the added element.
Content: Here you can add the text or images in the selected element.
Style: Here you can edit the appearance of the element like backgrounds, fonts, alignment and more.
Advanced: Here you can edit the position of the element, its padding and margins, transitions, effects and more.
Navigator
How to use Navigator-
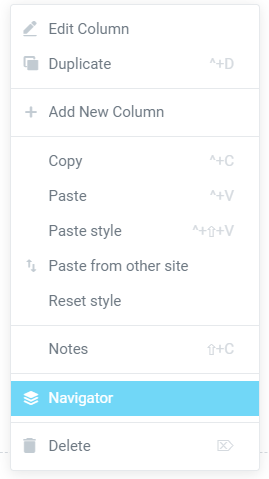
You have three simple options to open the Navigator window:
- Right-click any element and then click on Navigator. This automatically redirects you to the specific element in the navigation tree.
2.Use Click on the layers icon in the footer of the panel.
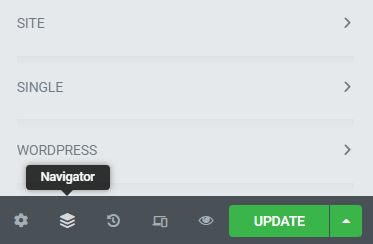
3.The keyboard shortcut Cmd/Ctrl+I.
Update Or Publish